
Discord is an amazing app that allows its users to communicate with each other in all kinds of ways. What separates Discord from other instant messaging apps is the technical features it offers - there are only so many things you can do in Telegram, WhatsApp, or Slack.
While Discord is relatively complex when compared to other instant messaging apps, a regular user who just wants to hop on Discord and chat with other people will find it as easy as using WhatsApp. The complexity of Discord is unveiled when the user steps into the realm of managing a server. There are a lot of technical features that server managers can utilize to improve their servers - but they might take time to learn, especially without a helping hand.
But you’re in luck, because we are that helping hand. In this guide, we’re going to teach you how you can send cool and eye-catching messages instead of boring plain text ones - and we’re going to do this by utilizing two things: Discord’s webhook feature and a third-party website called Discohook. Let’s dive in!
What are Webhooks?
Before starting to talk about how you can send a message to a webhook using the Discohook website, let’s talk about what webhooks are - so there’s no confusion.
Webhooks are HTML callback functions - too technical, right? You can simply imagine webhooks as the wire of a tin can phone. When a person speaks into the tin can, the wire delivers the sound into the other tin can at the other end of it. Similarly, when an app makes a POST request into a webhook, the data (message) that’s in the request will be delivered to the target by a webhook.
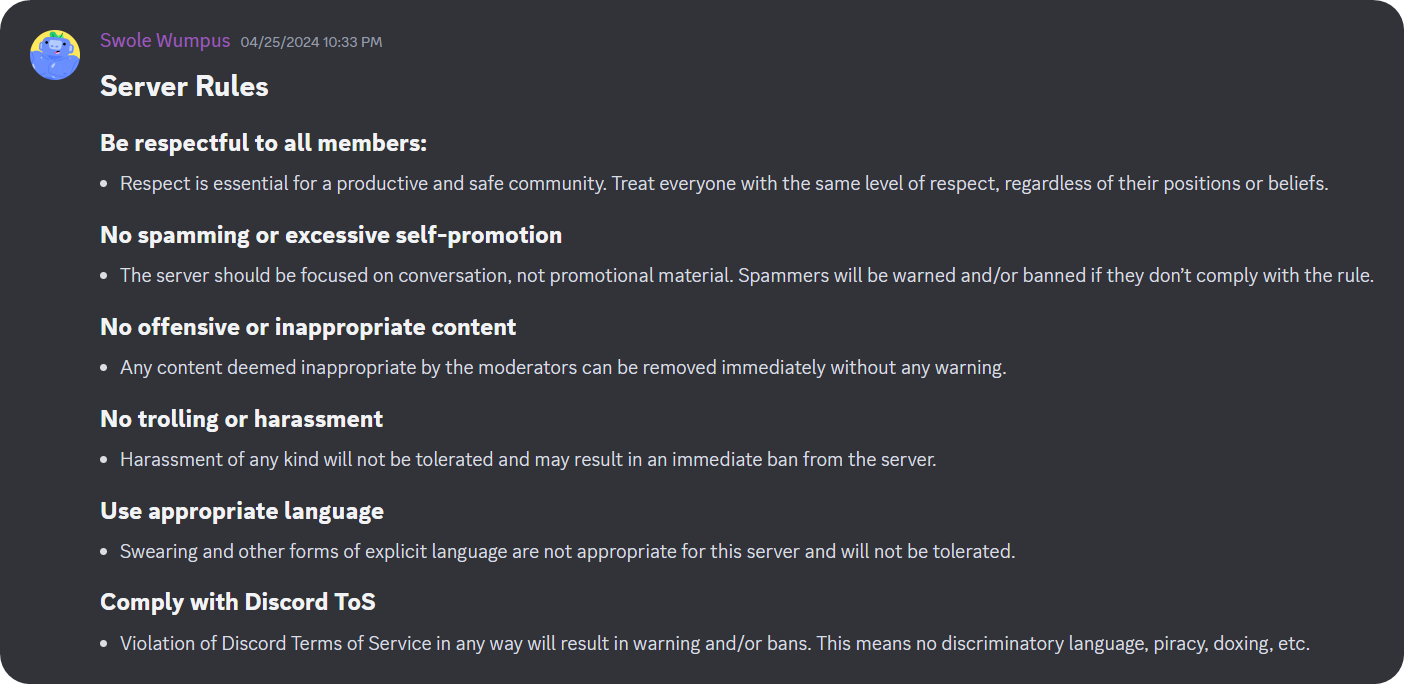
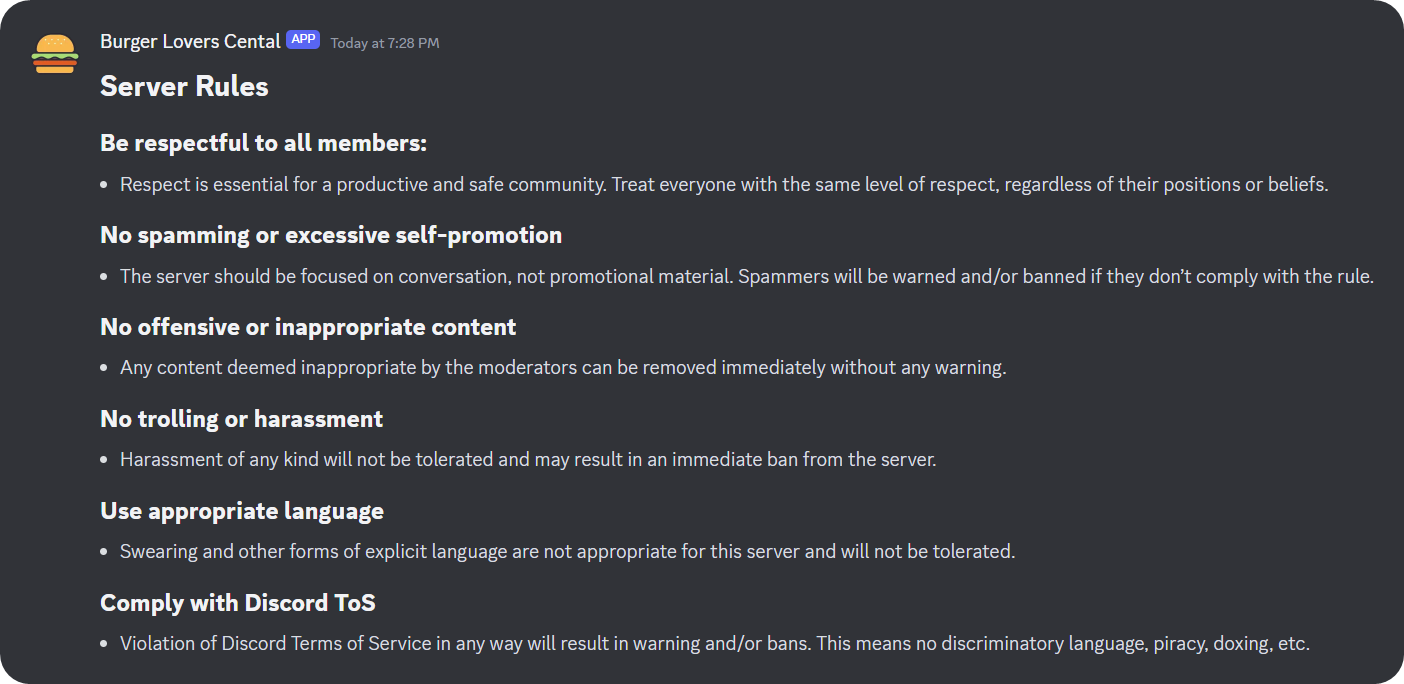
In Discord, webhooks are channel-specific, meaning that you can create webhooks through your channel settings and once you do, all POST requests sent into that webhook will be delivered to the channel you created the webhook in. When a message is sent through a webhook, the result is pretty much the same as a regular message you would send in Discord. The main difference between the two is that the webhook message will have an “APP” tag next to the author’s username, and you can customize the avatar and the name of the webhook.
One thing you should keep in mind is that webhook URLs are like nuclear lunch codes - you don’t want them to fall into the wrong hands. If someone with ill intentions somehow gets a webhook URL of a channel in your server, they can send messages into the channel through the webhook. It might now sound so terrible at first - you can handle a few messages, right?
Wrong.
Webhook messages are not subject to Discord filters, AutoMod filters, or any custom bot filter you set up. This means if someone with your webhook URL wants to, they can spam obscene images, scam links, @everyone pings, unwanted messages, and more.
So, make sure you do not share your webhook URL with ANYONE. Since users can create webhooks only if they have the Manage Webhooks permission, granting this permission carries the same risks as sharing your webhook URL. So think twice… or even thrice, before granting this permission or sharing a webhook URL.
What is Discohook?
There are multiple uses of Discord webhooks - for example, you can connect them to your GitHub repo, so it automatically posts updates as Discord messages. Or you can use the MonitoRSS bot to connect RSS feeds to a webhook you want, hence getting news, updates, or anything RSS-related into your Discord channel.
While setting up automatic connections to your webhooks is cool, you can also manually send messages into them as well. There are a lot of third-party apps that let you do this, and the most popular once is Discohook.
Discohook allows you to use the manual webhook method to the fullest - you can send plain texts, files, embed messages, and everything in between. The best part about Discohook is that it looks good and is really simple. There are no confusing codes, complex buttons, or technical gibberish.
How to Send a Message Using Discohook
Now that you know what a webhook and Discohook are, let’s create a webhook and send a message to it using Discohook. We will follow the steps of doing so on a desktop since it’s not possible to create webhooks on the mobile version of Discord yet.
First, let’s take a look at the steps of creating a webhook. Before starting, keep in mind that you need the Manage Webhooks permission to create webhooks. If you’re the server owner, you already have all the permissions so you’re in the clear. Here are the steps of creating a webhooks:
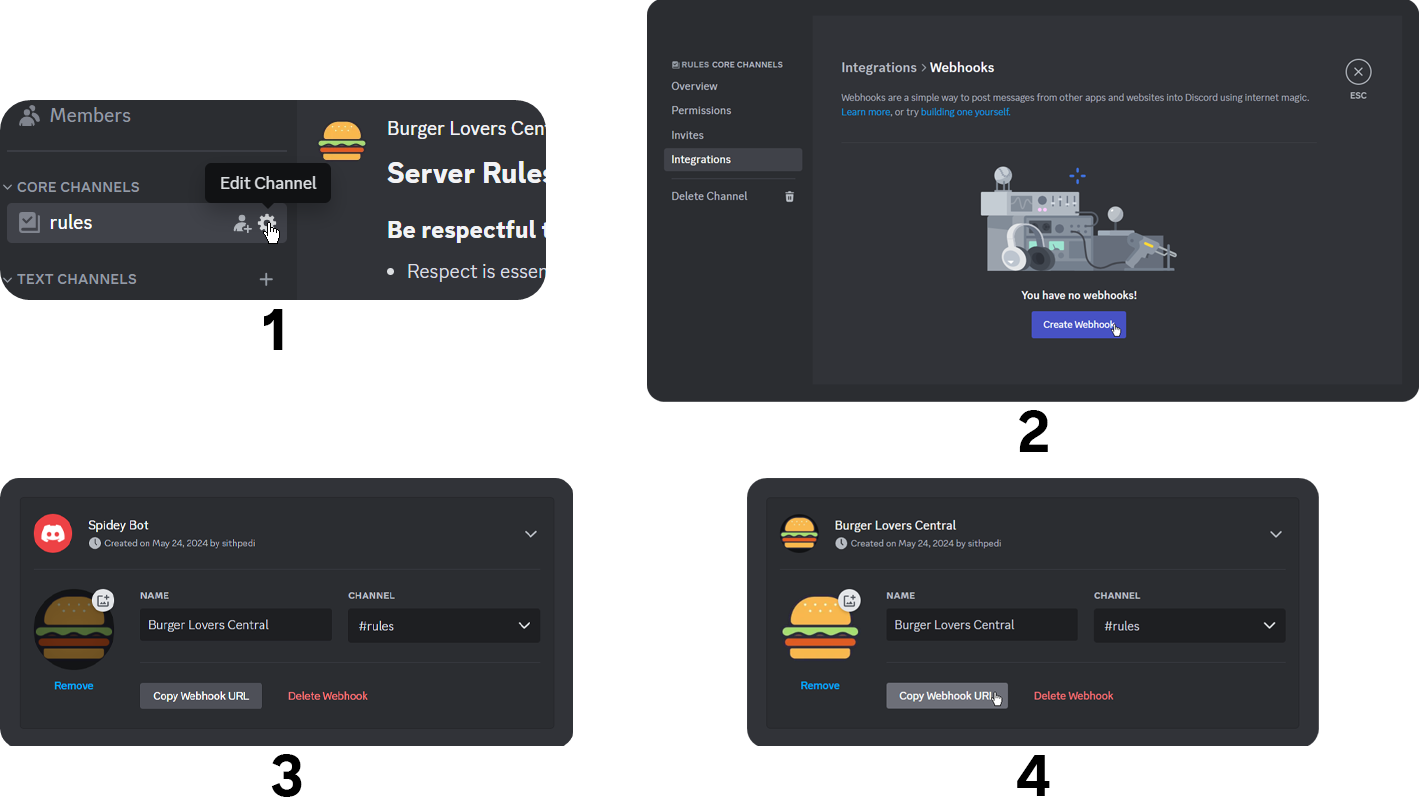
- Click on the Edit Channel button (cogwheel icon) that appears when you hover over the channel.
- Once you’re in the channel’s settings, navigate to the Integrations section and click the Create Webhook button. This will immediately create a webhook with a random name and a default avatar. If you don’t see the webhook popping up the second you click the button, wait a bit - it might take a few seconds.
- After you see the webhook is created, click on it to change its avatar and name. Once you’re satisfied, click on the Save Changes button at the bottom of your screen.
- Amazing, now you have a webhook. Let’s click the Copy Webhook URL button to copy the webhook’s URL, which we will use later on.
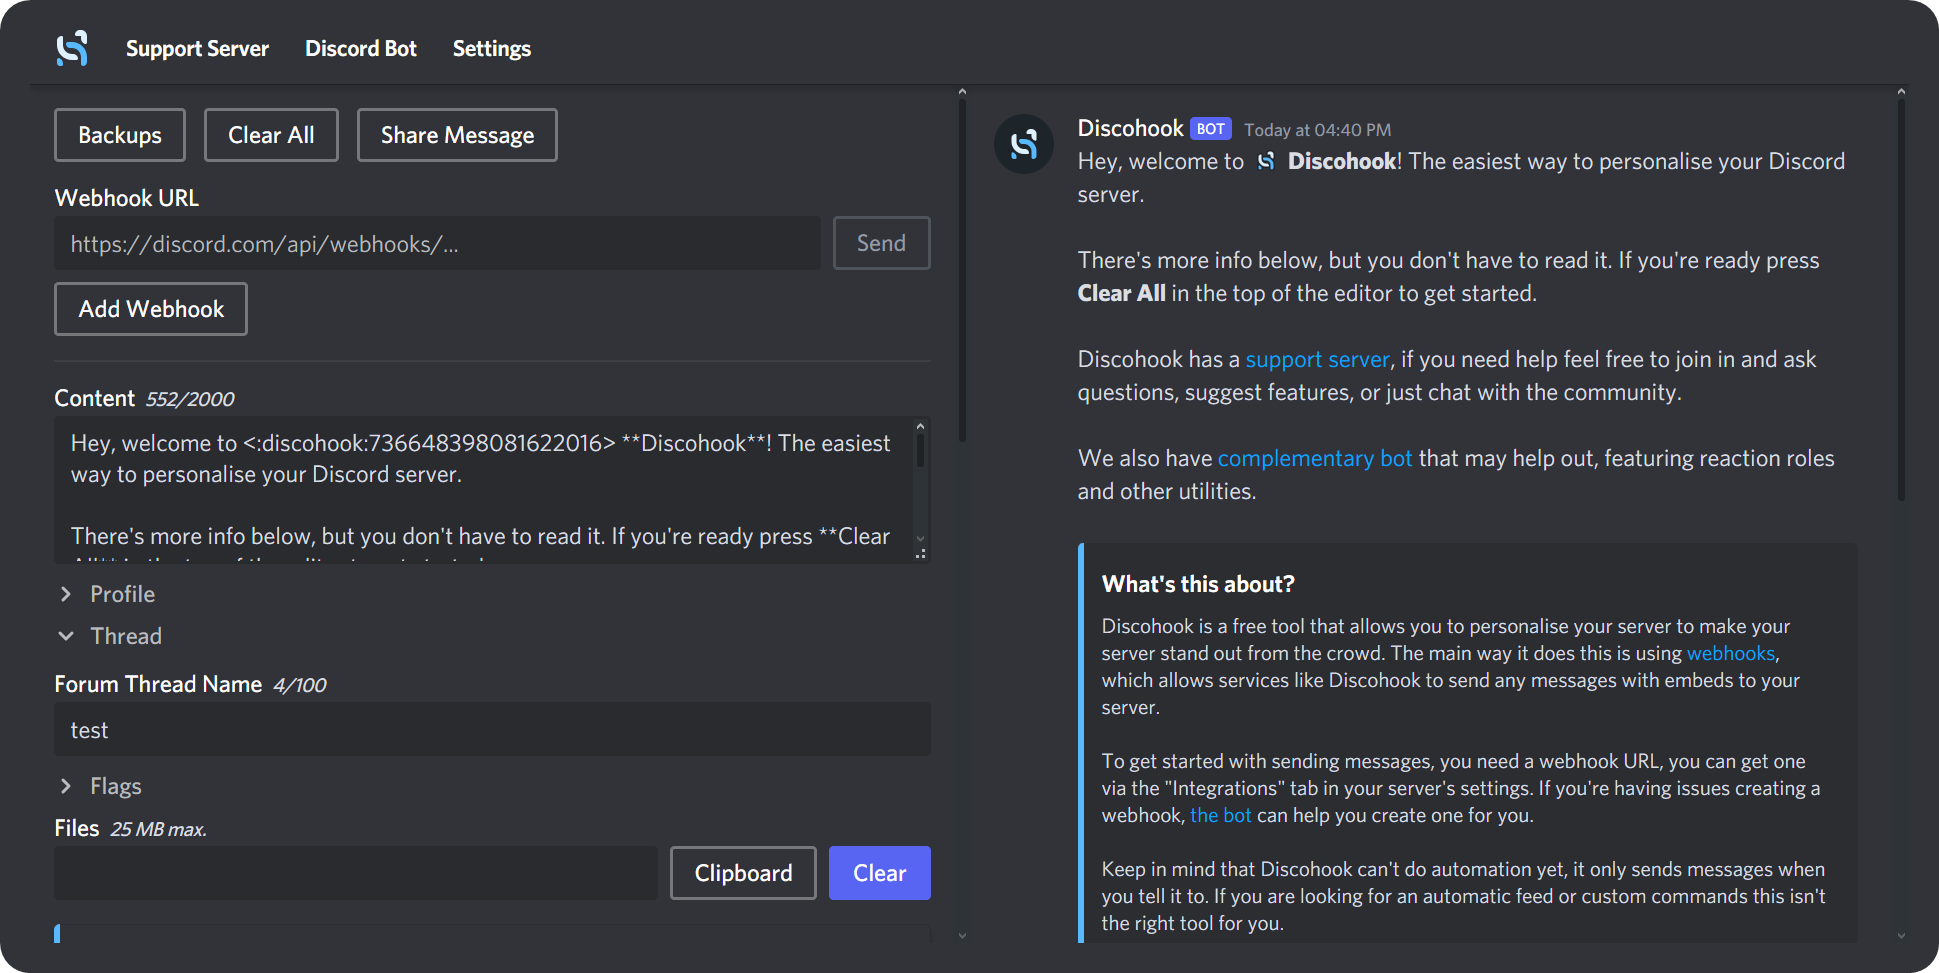
Now that you’ve created the webhook, let’s go back to Discohook. When you first visit the Discohook website, you’ll see that the message setup is on the left, and the preview of the message is on the right.

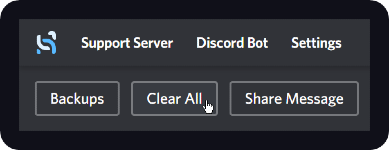
You’ll also notice that there’s a default message that’s waiting for you - a brief introduction to what Discohook is. Let’s click on the Clear All button at the top left to start from scratch.
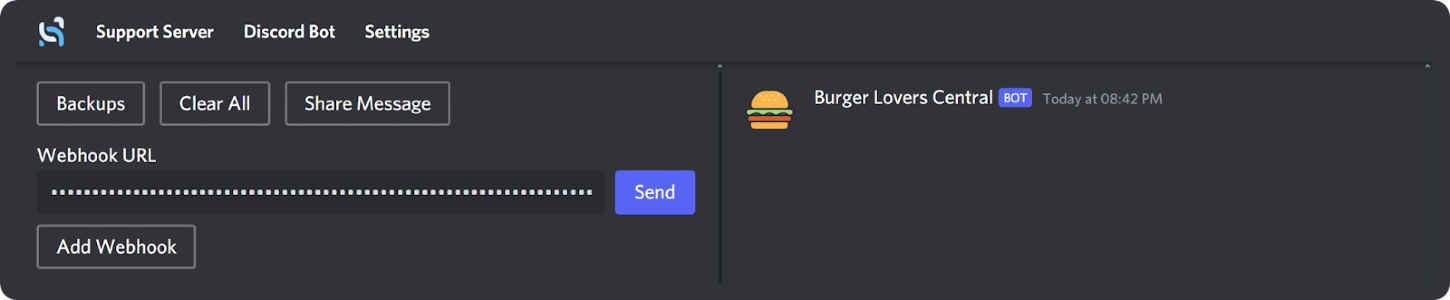
Now that you have a clear canvas, let’s input the URL of our webhook into the Webhook URL input box. As you type (or paste) your webhook URL into the input box, you’ll notice that it will be password-masked - meaning that the characters will appear as dots. This is to protect your webhook URL since, as we mentioned, they can be really dangerous if they fall into the wrong hands. Once you enter the URL, you’ll see that the message preview to the right will adopt the webhook’s avatar and name.
Let’s move on to actually sending a message using Discohook.
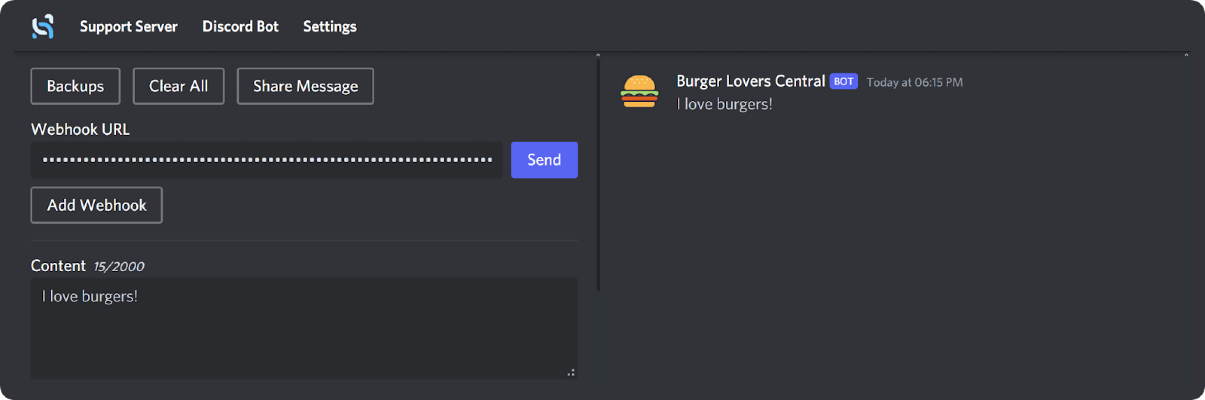
Below the webhook URL input box, you’ll see an input box titled Content. It’s the regular content of your message. When you type something there, you’ll see that the preview on the right will update. The text you type supports all Discord formatting methods - the text won’t be formatted in Discohook, but you’ll see that the formatting will be applied once the message is sent. To send the message is really easy - you just have to click the Send button to the right of the webhook URL input box.
One thing many people often question is what they should do if they want to mention a role or a user. Discohook can’t access your server’s roles and users, but you can still mention them using Discord formatting:
- Mentioning a channel: <#channelID>
- Mentioning a user: <@userID>
- Mentioning a role: <@&roleID>
Now, if you look below the Contents section, you’ll see that there are three dropdowns and a File section. Let’s examine what they are before moving on to adding an embed to your webhook message - remember, embeds are cool.
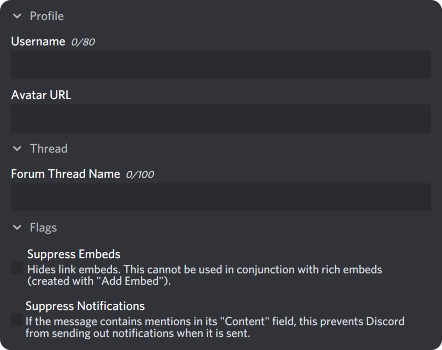
Right below the Content section, you can see the Profile dropdown. When you click on it, you’ll see two input boxes: Username and Avatar URL. They have pretty self-explanatory names - the username box will determine the username of the webhook, so if you type “User X” there when you send the message, the author of the message will be “User X.” Same with the avatar URL, the image URL you input will determine the author’s avatar.
One cool thing that we did, if you remember, was to change the avatar and the name of our webhook at the start. Since we did that, the default (empty) configuration of these input boxes will result in the message adopting the webhook’s avatar and name. If you fill them out, however, they will override the webhook’s.
Below the Profile section, there is the Thread dropdown. When you click it, you’ll notice that it only has a single input box titled Forum Thread Name. What Discohook expects you to input is the title of the Forum thread where the message is going to be posted. This will only work if the webhook URL you inputted is from a forum-type channel. When you input something in this box, let’s say “Awesome Thread,” and send it, Discohook will create a new thread under the forum channel titles “Awesome Thread” and will post the message in it.
The last of the three dropdowns is the Flags. When you click on it, you’ll see two toggle options:
- Suppress Embeds: Toggling this option will hide all embeds in the message. This means embed messages and link embeds. If your webhook message has an embed message itself, you shouldn’t turn this on. Thankfully, it’s off by default.
- Suppress Notifications: Again, with a pretty self-explanatory name, this option will prevent the message from sending the notification to users, even if you mention them or a role they have in the message. This, too, is turned off by default.
Below the three dropdown menus, you’ll see the Files section and it does exactly what you think it does. Clicking on the section will open a file selection dialogue, which allows you to select which files should be attached to the message. There’s a 25 MB limit and you can add up to 10 different files.

Sending Embed Messages with Discohook
Now to go good part, embed messages. If you’ve been using Discord for a while, you've likely seen embeded messages a lot - especially with links. When you send a link in Discord, you’ll see a box with a colored indent, image, and text appearing below it.
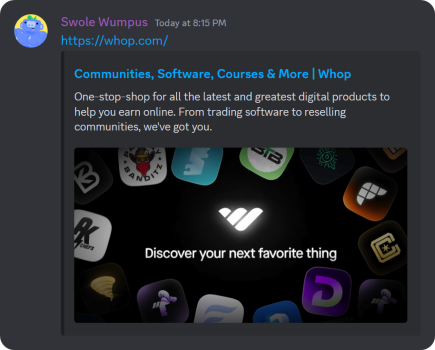
Of course, this isn’t the only way to embed messages. Discord bots and webhook messages can have embeds, too - and Discohook let’s you easily add an embed to your webhook messages.
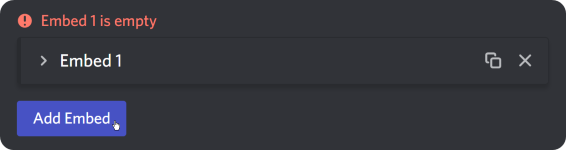
To add an embed to your webhook message, simply click on the Add Embed button below the Files section - this will immediately create an empty embed.
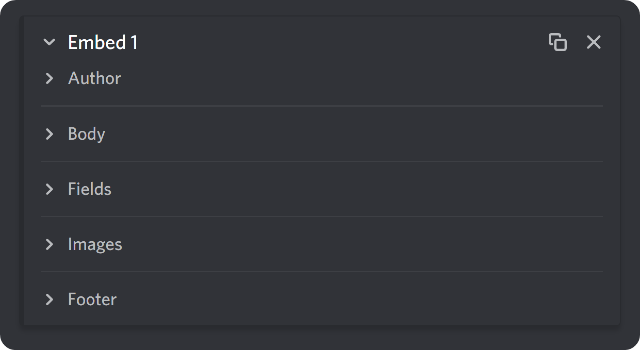
Clicking on it will open the options of the embed. There are five categories that you can edit: Author, Body, Fields, Images, and Footer. They all allow you to add a unique part to your embed message. We suggest you play around with all the options so you can see what kind of embed you can create and what suits your interest.
Clicking the Add Embed button again will add another embed, and you can add up to 10 embeds per message, so you don’t have to create a new message for each embed. They can be especially useful for core channels of a server like #rules, #server-information, #role-information, and more.
Editing Webhook Messages on Discohook
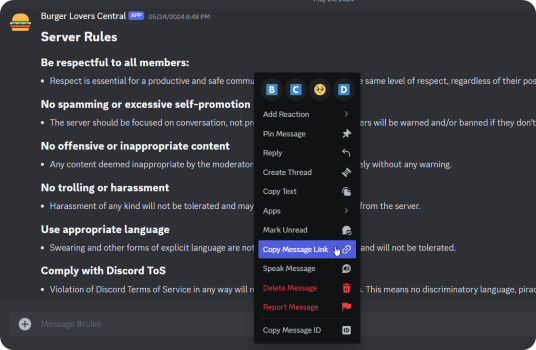
The last and one of the most useful features of Discohook is the ability to edit the previously sent webhook messages and doing so is really easy. Let’s say you posted your rules using Discohook, but you want to add an additional rule. The first thing you should do is to get the webhook URL the message was sent with and put it in the Webhook URL section of Discohook. Then, go back to Discord, right-click on the message, and select the Copy Message Link option.
Once you’ve copied the link of the message, go back to Discohook and scroll all the way down at the left-hand side until you see the Message Link section. Pasting the link to the message will enable the Load button right next to the input box - clicking it will display a confirmation message asking you if you want to clear the current message that’s in Discohook and replace it with the message you’ve copied the link of.
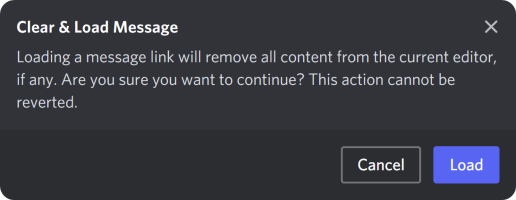
Once you click Load, you’ll see that the message in the Discohook will be replaced. Now, if you make any changes to the message itself, you’ll see that the Send button next to the Webhook URL section at the top will transform and say Edit instead of Send. Clicking it will edit the message you’ve copied the link of, instead of sending a new message into the webhook.

Step Up Your Discord Game with Whop
Now you know how you can create webhooks and send messages into them using Discohook. This will help you improve your server’s visual attractiveness and make it look much more professional, but this isn’t the only way to improve your server - did you know that you can transform your server from a regular one into a premium one in a matter of minutes?
Whop has been helping thousands of people with monetizing their servers and generating an income. This paves the way for their server to transform into a premium one - it can help you do that, too. Signing up to Whop and starting selling takes less than 10 minutes - sign up today.


